How to make Glitter Slime – Easy Recipes for Glitter Slime
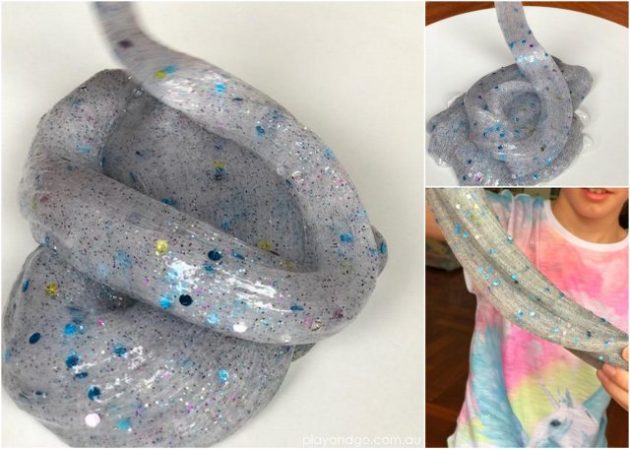
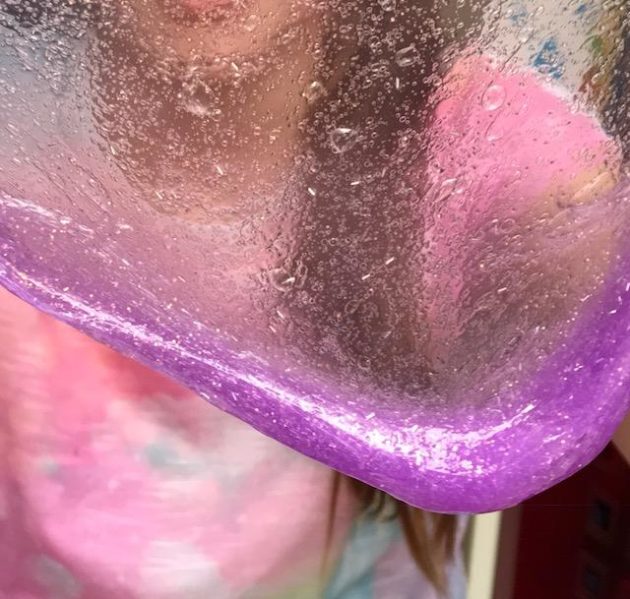
Glitter slime is one of our favourite types of slime. It’s so sparkly, stretchy and fun to play with, and so cool to look at. It’s also super easy to make, especially as Elmers glue is now finally available again in Australian shops. We found it at Spotlight, Woolworths and Coles. However, you have to be quick as it disappears off the shelves pretty fast every time it’s re-stocked. We’ve been making slime over the past few years but when Woolworths stopped stocking it a couple of years ago, we had a lot of trouble finding an alternative glue which worked consistently. These recipes are based on the Elmer’s Clear Glue and the Elmer’s Glitter Glue range.
Recipe 1 – How to Make Clear Glitter Slime
Ingredients for Clear Glitter Slime – it’s only 3 ingredients!
1 Bottle of Elmer’s Clear Glue 147ml/5 FL OZ
Fill the empty glue bottle full of water
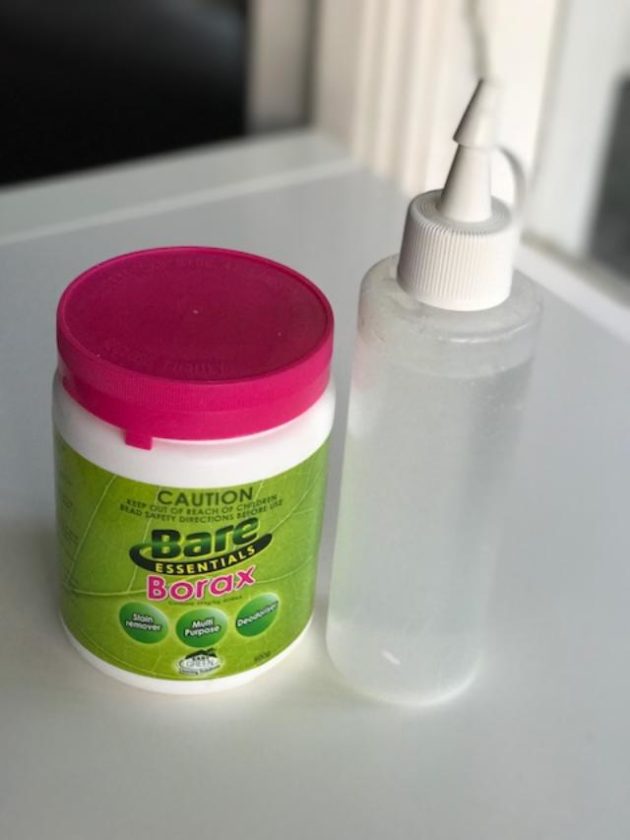
Approx. 10 teaspoons of Borax Solution: to make this, mix 1 teaspoon of Borax with 1 cup of hot water and stir to combine. We put this liquid solution in a sauce bottle for easy dispensing and storing. Borax can be found in the laundry section of supermarkets.
How to Make Clear Glitter Slime
Step 1: Squeeze the clear glue into a mixing bowl.
Step 2: Fill the empty bottle with water and pour into the glue.
Step 3: Mix to combine the glue and the water together.
Step 4: Slowly add 1 teaspoon at a time of the Borax solution to the mixture and stir. Keep adding this until the mixture starts to come away from the side but is still tacky. We used approximately 10 teaspoons. Do not add too much Borax Solution or it will go hard and not stretchy. Once you’ve got your slime the right texture, it should come away from surfaces and your fingers without being too sticky. If it’s still very sticky add very small amounts of the borax solution (1/4 teaspoon at a time) to get it right. We can’t stress enough how important it is to not add too much borax solution – too much of the stuff will make your slime rubbery and break when you pull it, instead of being nice and stretchy.
SLIME TIP: If you do accidentally put too much Borax solution in and the slime goes too hard and not stretchy you can either add more glue (if you have another bottle handy) or add warm water and work it into the mixture.
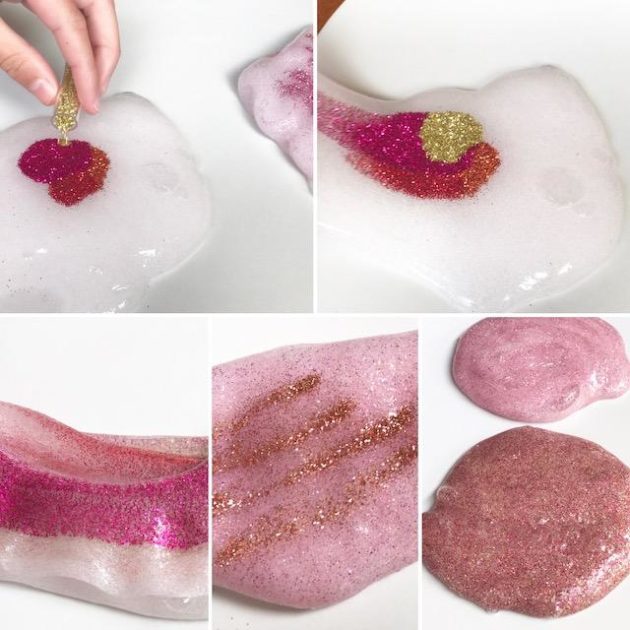
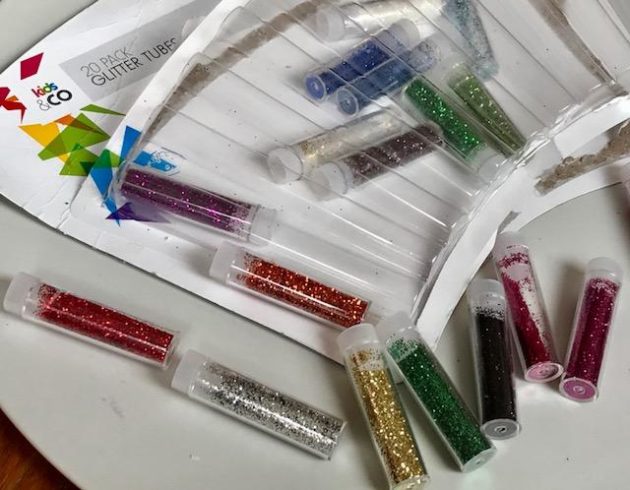
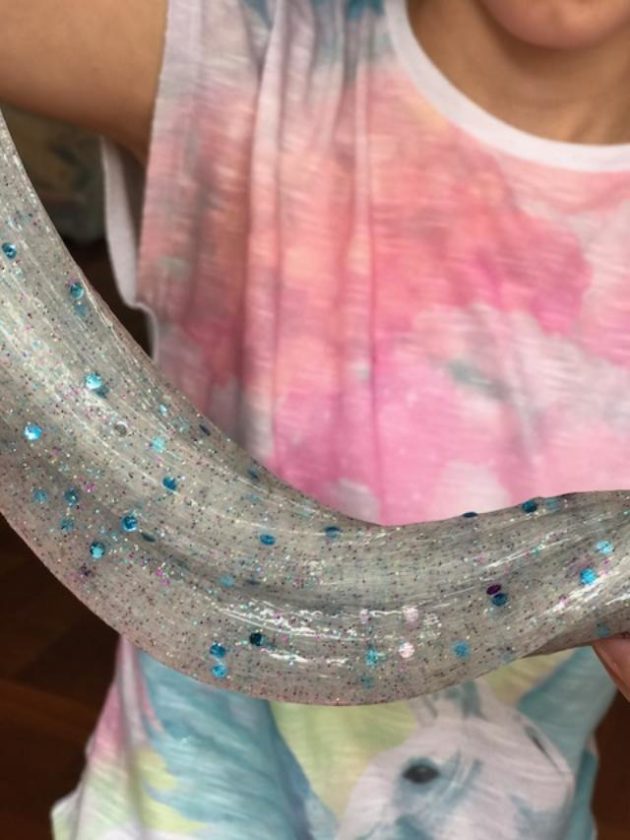
Step 5: Decorate your slime with glitter or confetti shapes or anything you like. We add these at the end so that you can split up your slime into 2 or 3 batches and decorate each one differently if you like. We got these glitter tubes below from Kmart (approx $3 for 20 tubes of different vibrant colours). The confetti shapes pictured in the top photo we got from Spotlight.
Don’t worry – the glitter sticks to the slime and you will find that it doesn’t make a mess everywhere. Once it’s in the slime the glitter doesn’t actually stick to your hands or surfaces.
Also don’t worry if your clear slime doesn’t look very clear to begin with. It can get lots of tiny bubbles making it look white instead of clear. If you leave it in an air-tight container for 1 to 3 days it will become clear.
Recipe 2 – How to Make Elmer’s Coloured Glitter Glue Slime
It’s the easiest way to have coloured glitter slime. We love the texture of this slime. It’s nice and stretchy and super glittery.
Ingredients for Elmer’s Coloured Glitter Slime – again it’s only 3 ingredients
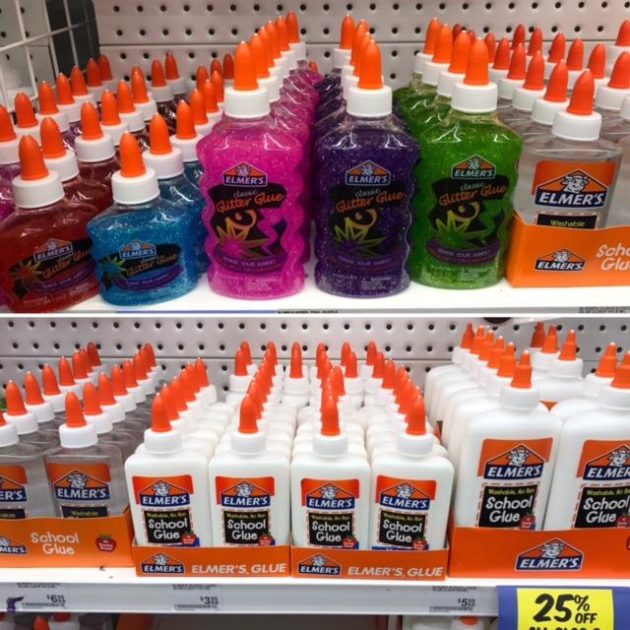
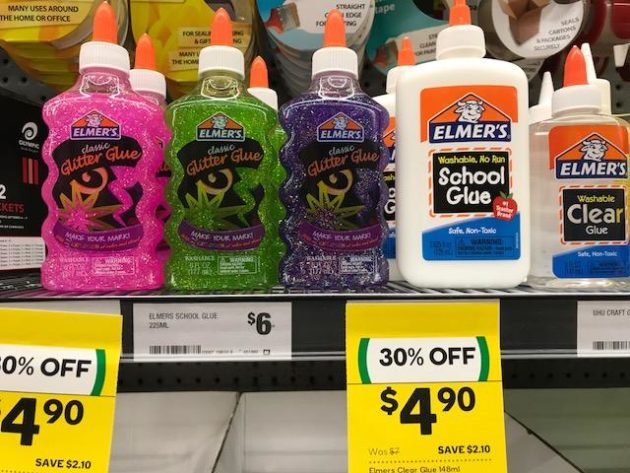
1 Bottle of Elmer’s Glitter Glue 177ml/6 FL OZ – it comes in two sizes in different colours, this is the larger size we have used. See pic below – on the shelves at Spotlight and Woolworths (Coles also stocks it).
A bottle of water – fill the empty glue bottle with water
Approx. 6 teaspoons of Borax solution: to make this, mix 1 teaspoon of Borax with 1 cup of hot water and stir to combine. We put this in a sauce bottle for easy dispensing and storing. Borax can be found in the laundry section of supermarkets.
How to Make Coloured Elmer’s Glitter Slime
Step 1: Squeeze the coloured glitter glue into a mixing bowl.
Step 2: Fill the empty bottle with water and pour into the glue.
Step 3: Mix to combine the glue and the water together. We like using a silicone spatula but you can also just use a tablespoon to stir with.
Step 4: Add the Borax solution carefully:
- Slowly add 1 teaspoon at a time of the Borax solution to the mixture and stir.
- Keep adding this and stirring until the mixture starts to come away from the sides of the bowl but is still tacky.
- After adding about 4 teaspoons, then only add 1/2 teaspoon at a time so that you don’t over do it. Do not add too much Borax solution or it will go hard and not stretchy. Once you’ve got your slime the right texture, it should come away from surfaces and your fingers without being too sticky.
- If it’s still very sticky add very small amounts of the borax solution (1/4 teaspoon at a time) to get it right. We used about 6 teaspoons all up, however it can vary slightly depending on temperature and humidity in the air. As mentioned earlier, be careful not to add too much borax solution. Always stir a lot or work with your hands after adding each bit of Borax solution.
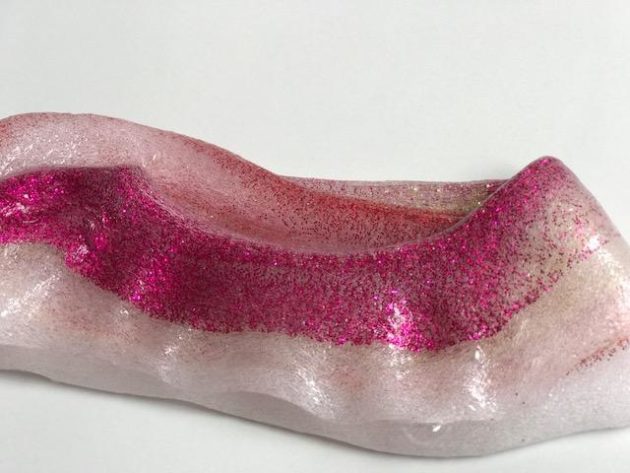
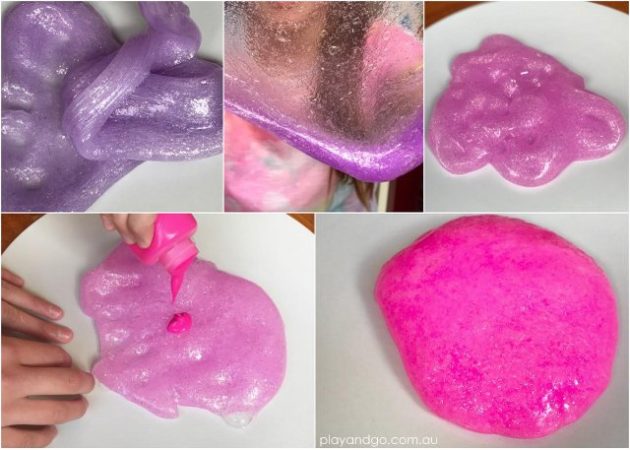
You don’t need to add anything more to this slime as it’s super glittery already. However, if you want to, you could add some paint like we have below (the neon pink paint to the pink glitter glue slime) to give it even more colour. We used the Kmart kids washable coloured paint pots. The best thing about washable paint is that it doesn’t stain hands, surfaces or clothes. The colour sticks to the glitter glue slime easily and is not messy.
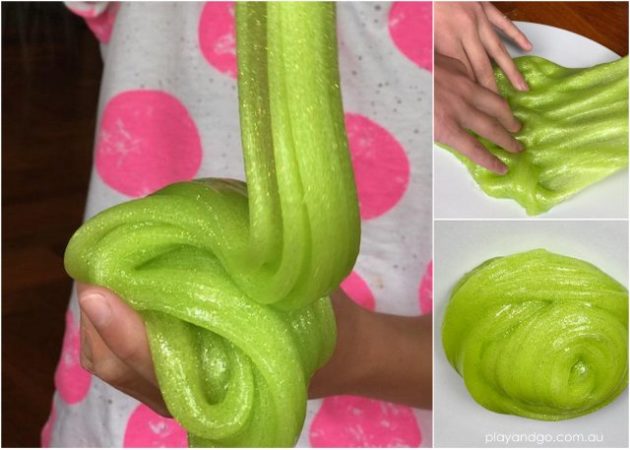
This green glitter slime below is made from the green Elmer’s glitter glue. Although we weren’t sure we liked the colour in the bottle, when you turn it into slime it’s a fabulous bright glittery green and it’s one of our favourites now. It has a great stretchy texture and makes good big slime bubbles too.
Important Notes About the Slime Ingredients
Borax can be found in the laundry aisle at supermarkets. Borax is a cleaning product and while the amount used is very small it must always be used with Adult supervision and caution.
This is something that you will have to decide for yourself if you are happy for your child to handle and play with slime using borax as an ingredient. Many of the slime shops recommend slime playing for ages 8 and up.
Always ensure hands are washed carefully after making or playing with slime. Also wash hands before playing with slime to keep the slime clean. Make sure children do not put it in their mouths. It is not to be ingested.
Borax is not classified to be carcinogenic and is known to not penetrate skin that well. It’s classified as a ‘mild skin irritant’ though so please beware if you or your child is known to have skin reactions. The very small amount of borax used to make slime generally isn’t enough to be toxic.
The science behind slime:
PVA glue has an ingredient called polyvinyl acetate, which is a liquid polymer. The borax links the polyvinyl acetate molecules to each other, which creates one large, flexible polymer, aka slime! Elmer’s Glue seems to have the right amount of polymer that not all pva glues have.
Read our Tips Here for Making Slime and How to fix Slime if things go a little wrong
Click Here for our Fluffy Slime Recipe
CLICK HERE FOR OUR FULL SEP/OCT 2021 SCHOOL HOLIDAY GUIDE
At Play & Go Adelaide we make every effort to provide accurate information to the best of our knowledge at the time of publication.
Image Source: All photos by Play & Go
Want to get all the latest events and activities straight to your inbox?
Subscribe to our weekly email newsletter below to keep up to date with our latest posts and find out all the best events & activities for Adelaide families. Newsletters are only sent once a week, and you may sometimes get a special offer exclusively for our subscribers only!


