How to Make Dot Cakes at Home | Recipe
Make your own ‘Dot Cakes’ at home – the latest viral food sensation!
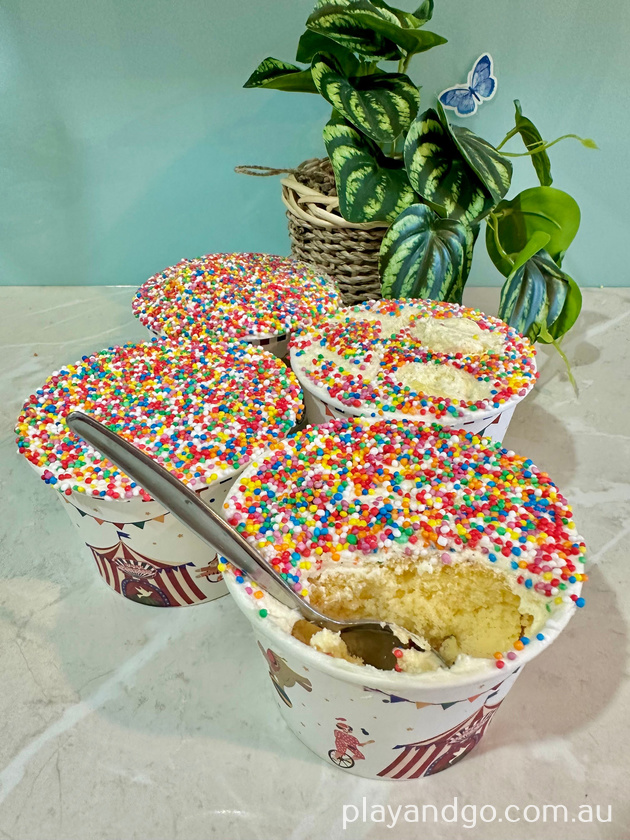
Dot Cakes are the latest food fad popping up all over the internet. Based on the original “Dot Pots” from the New York’s Dotcakes Bakery, they’re a simple concept that looks very, very familiar to Australians. Dot Cakes are basically fairy bread in cake form, and are surprisingly easy to make.
Dot Cakes are an excellent baking activity with kids, and perfect for birthday parties. Dot Cakes are simply cakes served in a cup, with buttercream icing and a smooth layer of 100s and 1000s on top. There’s plenty of opportunity to mix things up according to your preferences, changing up the cake type, icing type, or getting creative with the sprinkles on top.
Traditionally, Dot Cakes are vanilla sponge cake layered with vanilla buttercream icing. This is what we used when baking them, but feel free to try chocolate cake, carrot cake, jam or Nutella fillings, cream cheese icing or chocolate cream icing!
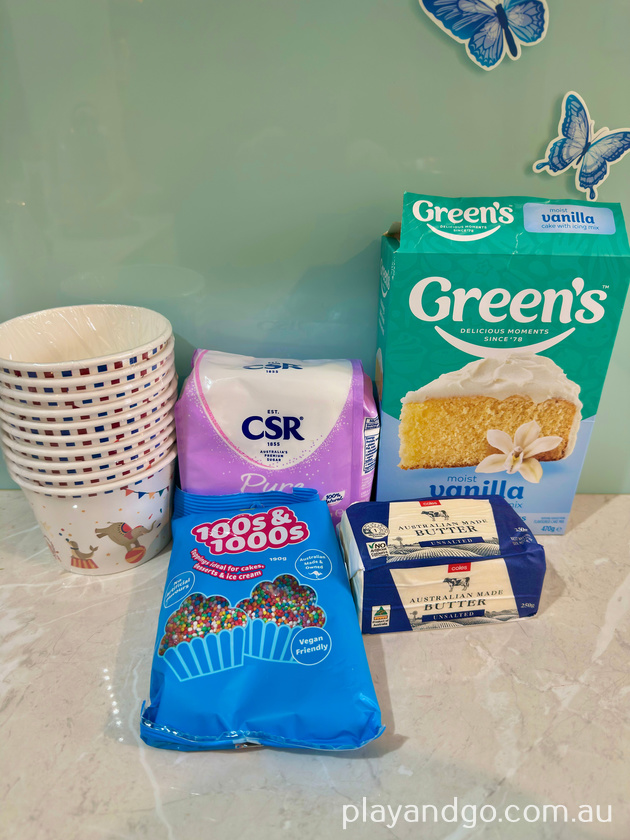
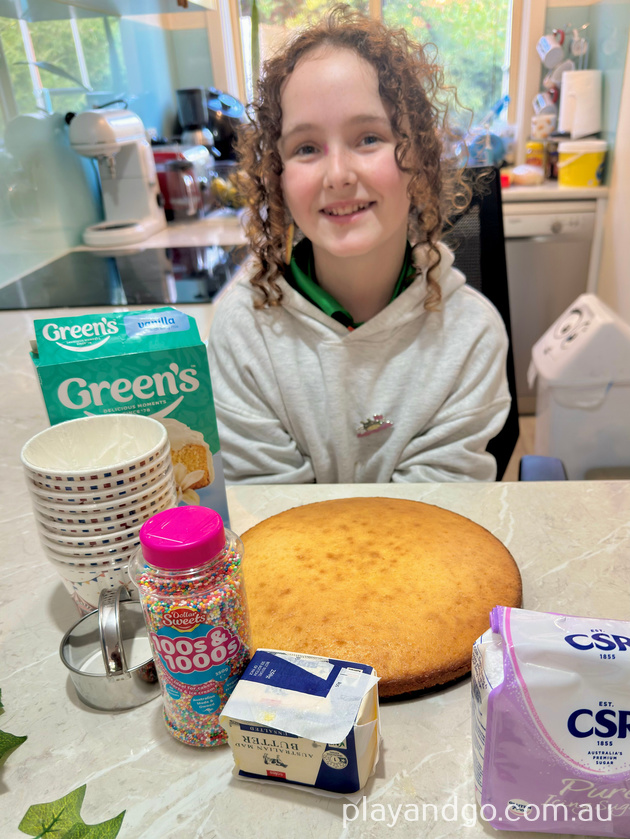
What you’ll need:
You can bake your cake from scratch, but for simplicity, we used a packet cake mix. We made our icing using the traditional Women’s Weekly Birthday Cake Book recipe with some vanilla bean paste added.
For the cake:
- Your favourite cake ingredients, or packet cake mix and ingredients listed
- A large round springform cake pan, or large square or rectangle pan (you want a large, flat/thin cake)
For the icing:
- 250g of unsalted butter, at room temperature
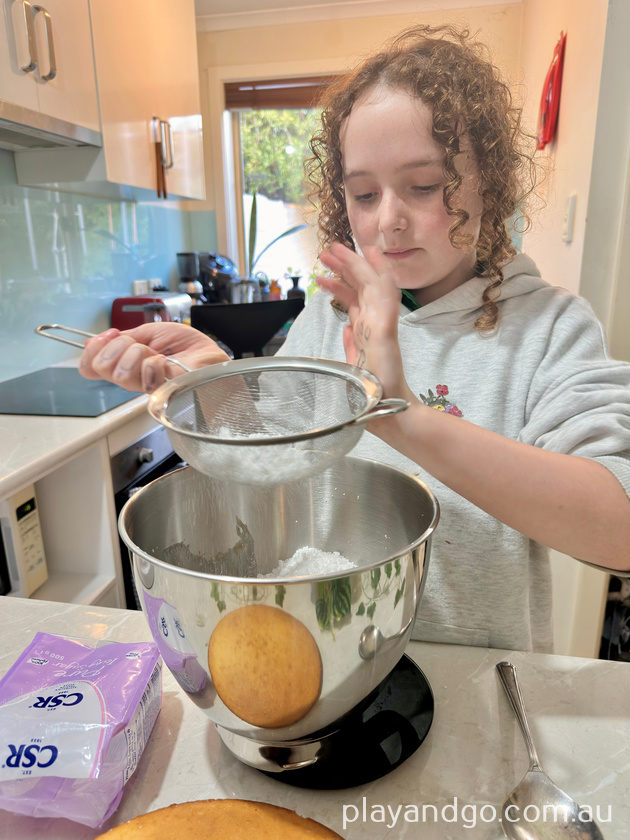
- 500g of pure icing sugar, sifted
- 1 tablespoon of vanilla bean paste
- 1-2 tablespoons of milk
For assembly:
- Cardboard cupcake or ice cream cups (we used ice cream cups from Woolworths, $3 for a pack of 10)
- 100s and 1000s sprinkles, and a flat plate for application
- A large scone cutter (you can use the lip of the ice cream cups to cut cake rounds if you don’t have a suitably sized scone cutter)
How to make your Dot Cakes:
- Prepare and bake your cake according to directions, noting the cooking time might be a little less due to the flat shape of the cake.
- After your cake is baked, allow to cool fully.
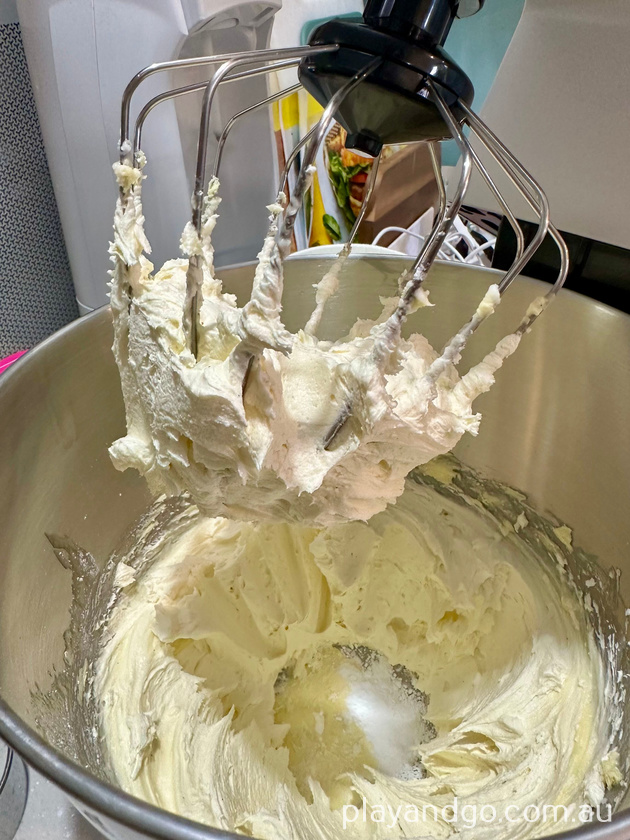
3. To make the icing, place the butter in a stand mixer or mixing bowl and beat until light and fluffy. Slowly add the icing sugar, then add the milk and vanilla and beat on high speed until smooth and creamy.
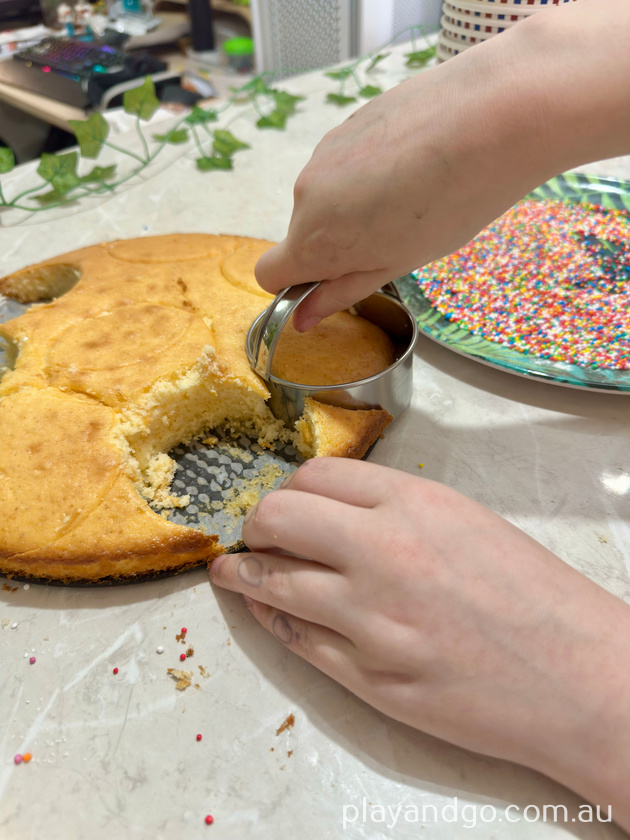
4. Cut rounds out of the cake using the scone cutter or one of the ice cream cups, making sure to cut the rounds as close as possible. Don’t worry about the left over bits – these can still be used to make Dot Cakes, they’ll be hidden by the icing!
5. Place one round inside an ice cream cup, and then cover with a layer of icing. You can try a piping bag to apply the icing here if you wish.
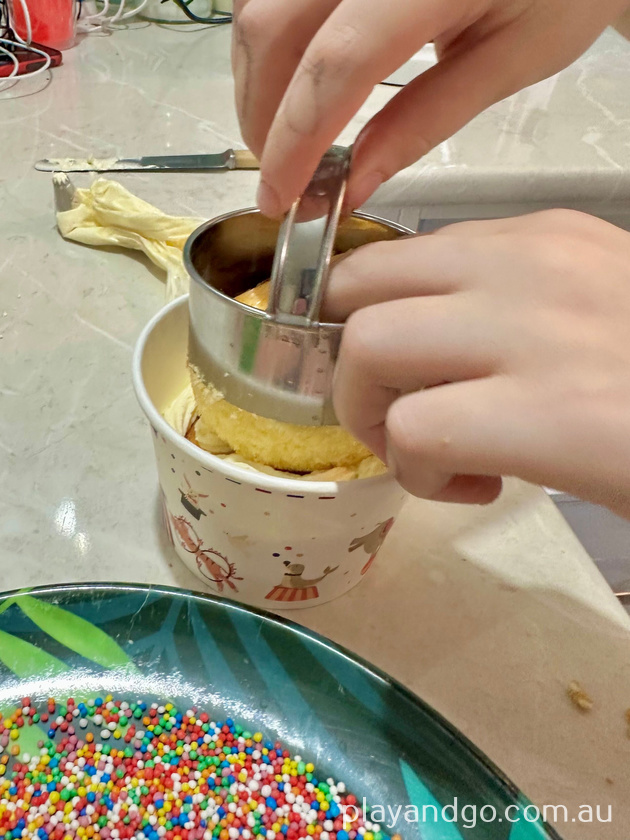
6. Place another round on top and press down, making sure the cake sits below the lip of the cup.
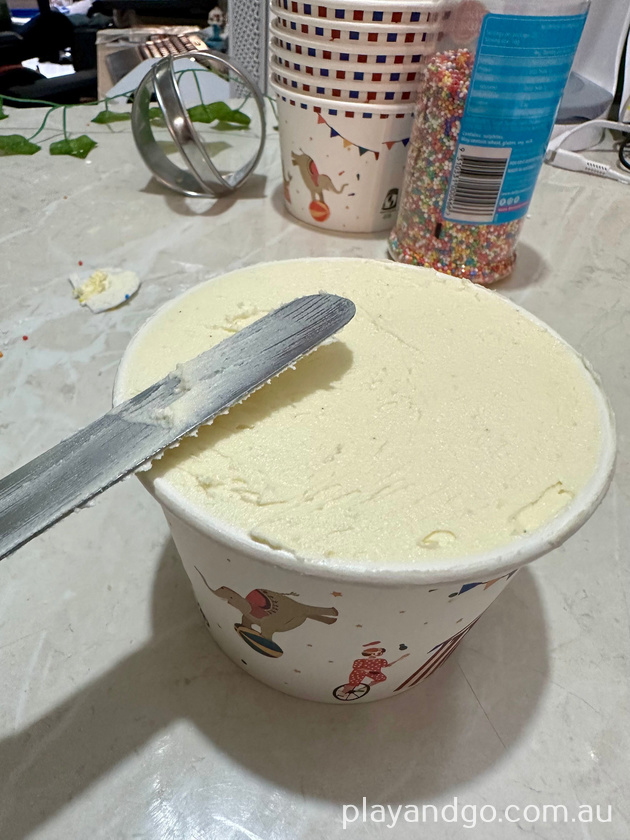
7. Apply a thick layer of icing over the top of the cake, and level with a spatula or knife. Try to get the icing as flat and smooth as you can.
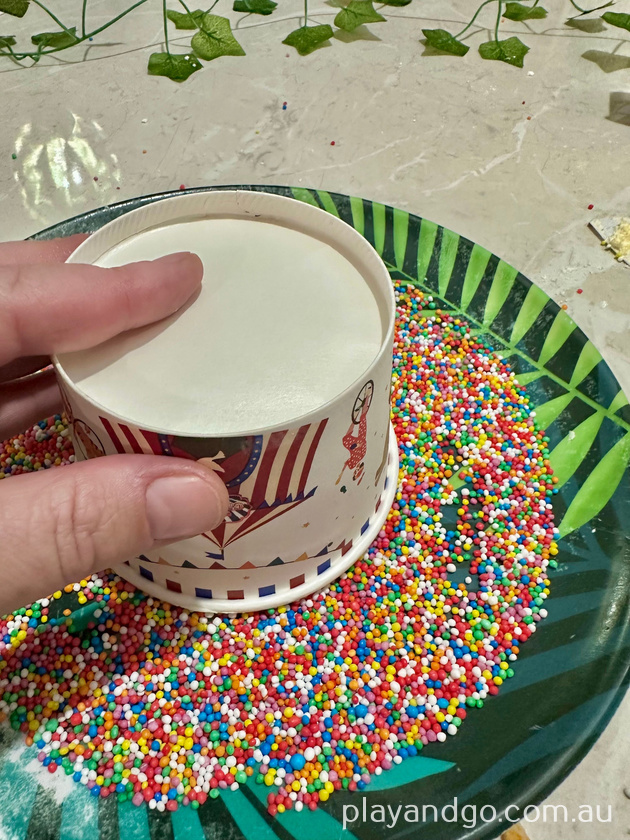
8. Carefully pour a layer of 100s and 1000s onto your flat plate. Don’t do this from high above the plate – the sprinkles bounce!
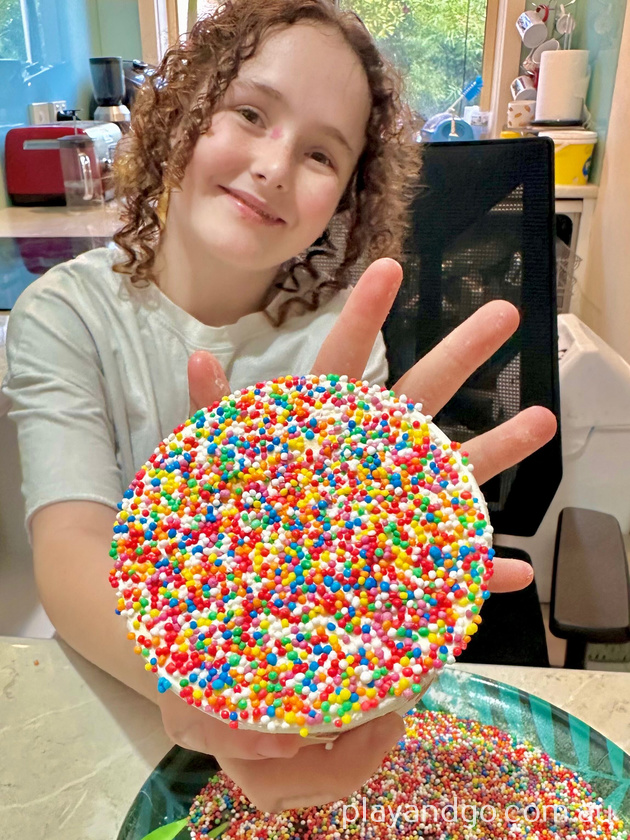
9. Carefully invert your cup and press the top of the icing into the 100s and 1000s. You may need to press a few times, moving around the plate, to ensure an even coverage of sprinkles.
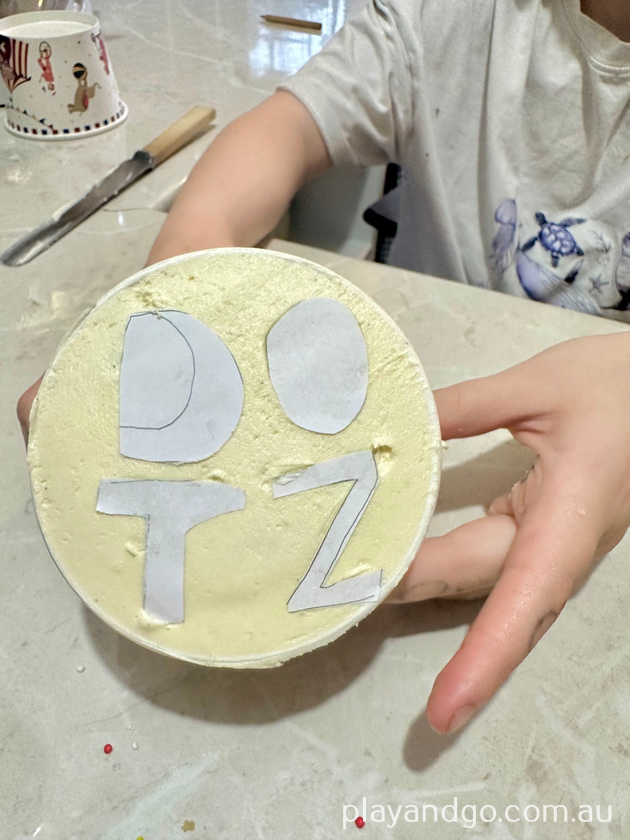
If you want to be creative, try drawing stencils on paper, cutting them out, and placing them on the icing before pressing onto the 100s and 1000s. Gently peel the paper off to create designs on the top of your cake. You could also try patterns with different coloured sprinkles.
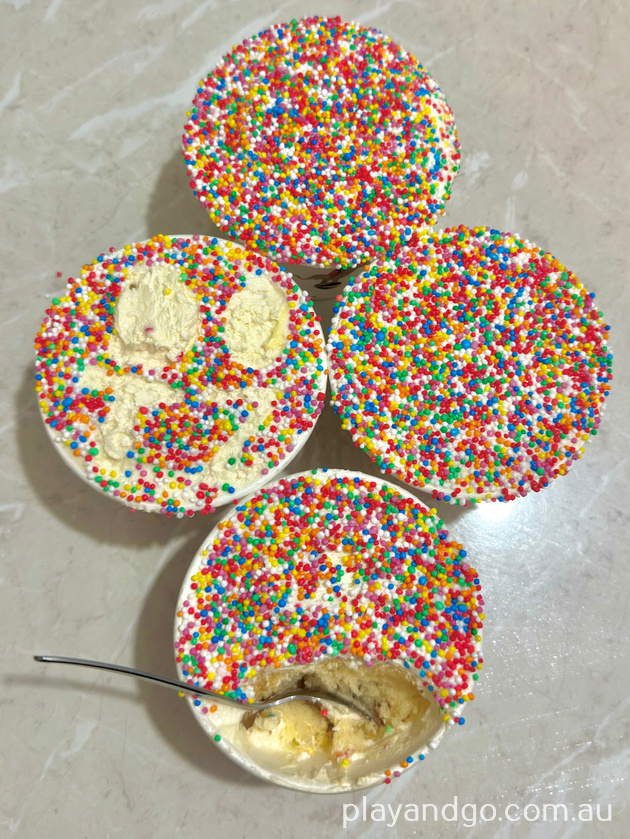
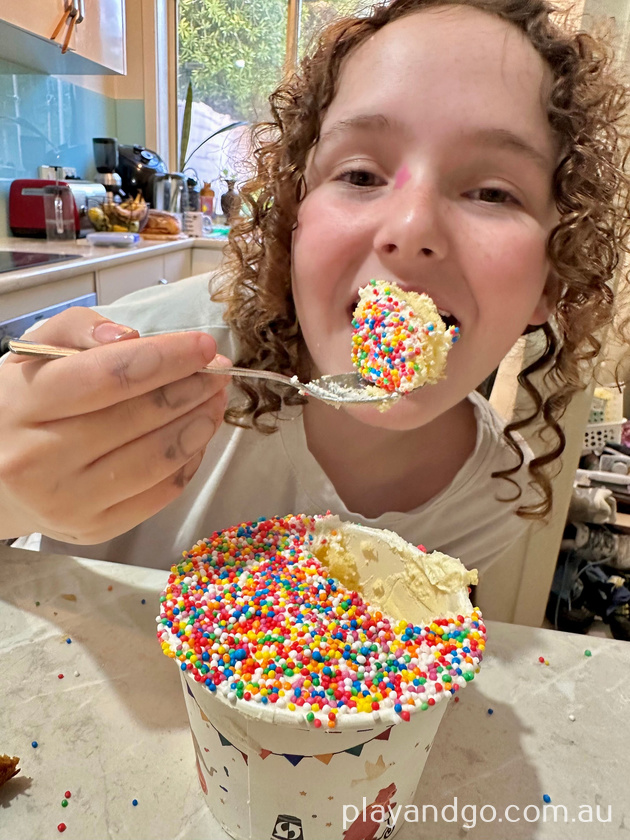
10. Serve and eat!
Note:
These cups create BIG serves, and with the amount of icing involved, they might be too much for little tummies. An alternative is to use espresso/small cardboard coffee cups. Assembling these will be a little bit more fiddly, and trickier for kids to manage, but much easier to eat. You could also make Dot Cakes with ramekins if you don’t want to use disposable cups.


At Play & Go Adelaide we make every effort to provide accurate information to the best of our knowledge at the time of publication. We recommend confirming times, dates and details directly before making any plans as details may be subject to change.
Image Source: Play & Go Adelaide
SUBSCRIBE
Follow Play & Go on Facebook and Instagram
Want to get all the latest events and activities straight to your inbox?
Subscribe to our weekly email newsletter below to keep up to date with our latest posts and find out all the best events & activities for Adelaide families. Newsletters are only sent once a week, and you may sometimes get a special offer exclusively for our subscribers only!